How Do You Splice OPGW Cables for Maximum Efficiency?

When faced with the task of splicing OPGW cables, many engineers are challenged by the complexity and risks involved. Any misstep in the splicing process can jeopardize both the optical performance and the cable’s grounding capabilities. This guide outlines a structured approach to ensure safe and effective splicing, preserving the integrity of the cable for maximum efficiency.
Splicing OPGW (Optical Ground Wire) cables requires following several precise steps—establishing site safety, preparing the cable, accessing the fibers, performing the splice with a fusion splicer, sealing the splice with a heat shrink sleeve, and finally installing the splice in a closure. Careful execution at every stage ensures that both the optical and electrical grounding functions remain intact.
Imagine working high on a transmission tower with strong winds buffeting you, where even a small mistake in splicing could lead to costly failures. With the proper knowledge and equipment, however, you can transform this challenging task into a reliable process that upholds the safety and performance of the entire network.
What Are the Essential Steps for Splicing OPGW Cables?
Splicing OPGW cables involves a series of critical steps designed to maintain the cable’s dual functionality. From preparation and safety to post-installation testing, each phase is essential for a successful splice.
To effectively splice OPGW cables, begin by ensuring site safety through the establishment of an equal potential zone, then prepare and straighten the cable, remove the armor to access the fibers, splice the fibers using a fusion splicer, and secure the splice with a heat shrink sleeve. Finally, install the splice in a closure and perform OTDR testing to verify quality.
The process starts with safety—setting up an equal potential zone by installing temporary ground cables and using protective equipment (like removable hot-sticks and conductive mats) to eliminate electrical hazards. Once safety is secured, the cable is straightened over at least 2.5 meters and marked before making a precise circumferential incision. Aluminum strands are then carefully removed. Any damage at this stage could compromise the cable’s performance, so meticulous handling is critical.
How Do You Prepare and Ensure Safety for OPGW Splicing?
- Preparation and Safety: Establish an equal potential zone by installing temporary ground cables. Use protective equipment such as removable hot-sticks and conductive mats. This step is crucial to prevent electrical shock hazards during splicing.
How Do You Prepare the Cable for Splicing?
- Cable Preparation: Stretch the OPGW cable over a minimum of 2.5 meters, mark the appropriate section, and wrap it with tape. Make a precise circumferential incision and carefully remove the aluminum strands and any sharp edges. This process isolates the fibers while preserving the cable’s overall integrity.
What Is the Process for Accessing the Optical Fibers?
- Removing Armor and Accessing Fibers: After preparing the cable, remove the central steel strands—leaving a buffer zone of approximately 10 mm. Use a metal plate to safeguard the metal loose tubes, then peel away the protective layers to expose the optical fibers without damaging them.
How Do You Properly Splice the Fibers?
- Splicing the Fibers: Feed the fibers through a transportation tube, ensuring that they align with the metal loose tubes. Use a fusion splicer to join the fibers, keeping splice loss within acceptable limits. An OTDR (Optical Time Domain Reflectometer) is then used to monitor splice attenuation and verify the quality of the connection.
How Do You Seal and Protect the Splice?
- Sealing and Protecting the Splice: Once the fibers are spliced, protect the joint with a heat shrink sleeve. Apply heat uniformly until the thermo-indicating paint on the sleeve changes color. For installations with multiple loose tubes, built-up or transparent sealing tubes can be applied for extra protection.
How to Install the Splice in a Closure?
- Installing the Splice in the Closure: Clean the cable cylinder clamp and the closure port, then feed the cable through the designated ports. Align the heat shrink sleeves properly before securing the splice inside the box. It’s important to install the splice box at a height above 6 meters to avoid future damage from environmental exposure.
Why Is Post-Installation Testing Crucial?
- Post-Installation Testing: After installation, use an OTDR to perform comprehensive testing. Verify that the splice meets the required optical signal transmission standards and that the cable’s grounding functionality remains uncompromised. This step confirms the integrity and quality of the splice.
Conclusion
Effectively splicing OPGW cables is a meticulous process that involves ensuring site safety, careful cable preparation, precision fiber splicing, robust sealing, and thorough testing. By following these detailed steps, telecommunications professionals can safeguard both the optical and grounding functions of the cable, ensuring reliable, high-performance network operations. Whether you’re an engineer on a high transmission tower or a project manager overseeing a network rollout, adhering to these best practices will enhance system efficiency and longevity.
Talk to ABPTEL
Looking for the right optical hardware for your AI data center, GPU cluster, or FTTA project? ABPTEL ships from Shenzhen with OEM/ODM support, fast lead times, and engineering-level pre-sales advice.
- 🔥 400G & 800G OSFP / QSFP-DD Transceivers — for AI training fabrics and hyperscale spine-leaf
- 📡 MPO / MTP High-Density Cabling — 12 / 24 / 32-fiber for high-density data centers
- ⚡ AOC & DAC Cables — short-reach GPU interconnects, OEM compatible
- 🧩 SFP / SFP+ / SFP28 / QSFP28 Modules — 1G to 100G optical transceivers
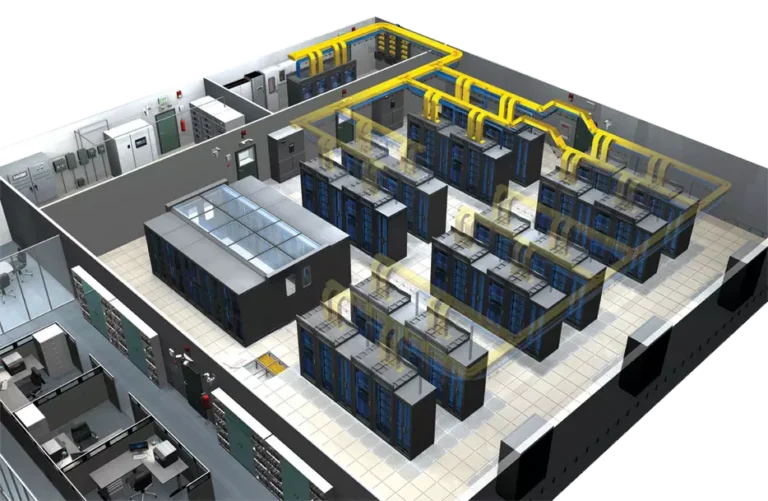
- 📋 Data Center Cabling Solutions — end-to-end design guide
- ❓ Read our FAQ — compatibility, polarity, lead time, MOQ
💬 Get a quote in 12 hours: Contact Candy · WhatsApp +86 188 1445 5697 · candy@abptel.com