PoE Power Budget: How Much Power Do You Need?
I used to see complicated wiring projects where network devices consumed too much power or required separate adapters. I felt the pain of tangled cables and unplanned budgets. Then I found out that using a proper PoE power budget calculator[^1] can fix these problems. It helps keep devices running steadily while avoiding surprise power failures. Now I share this knowledge with everyone facing similar network challenges.
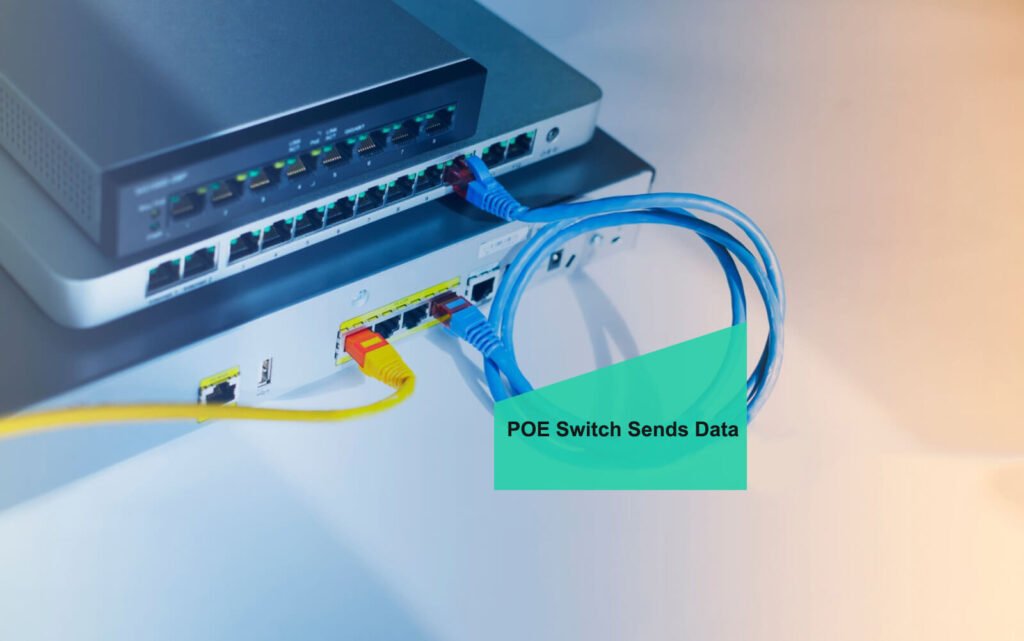
To calculate your PoE power budget, add up every device’s maximum power requirement, then pick a PoE switch that can supply enough wattage for all of them at once. If your total demand is 200W, your switch’s power budget must exceed that number. Account for cable loss and round up to be safe. This ensures stable operation without random device outages.
I remember my first large-scale PoE deployment. We had 20 IP cameras, 10 VoIP phones, and 8 Wi-Fi access points. We plugged them into a PoE switch, unaware that we were close to its limit. Some cameras would restart unexpectedly, and we had no clue why. Eventually, we realized our switch’s total power budget was being exceeded. That made me realize how important it is to plan power budgets from the start. Let’s dig deeper into how PoE power budgets work, how to calculate them, and when you should consider higher PoE standards for advanced devices like Wi-Fi 6 APs or PTZ cameras.
How Do I Calculate My PoE Power Budget?
When I began my first PoE project, I thought any PoE switch could power all my devices. But each device demanded a certain wattage, and that totaled more than my switch could handle. Calculating a PoE power budget is the safest way to ensure you have the right hardware. By summing up the maximum wattage requirements, I can accurately pick a switch that meets or exceeds the total demand.
The calculation is simple: list every PoE device, note its peak power usage, sum those values, and add a safety margin. If the result is, for example, 150W, you need a switch with at least 150W total PoE power. Factoring in future expansion is also wise.
The Steps for Accurate Calculation
Step 1 – List All Powered Devices
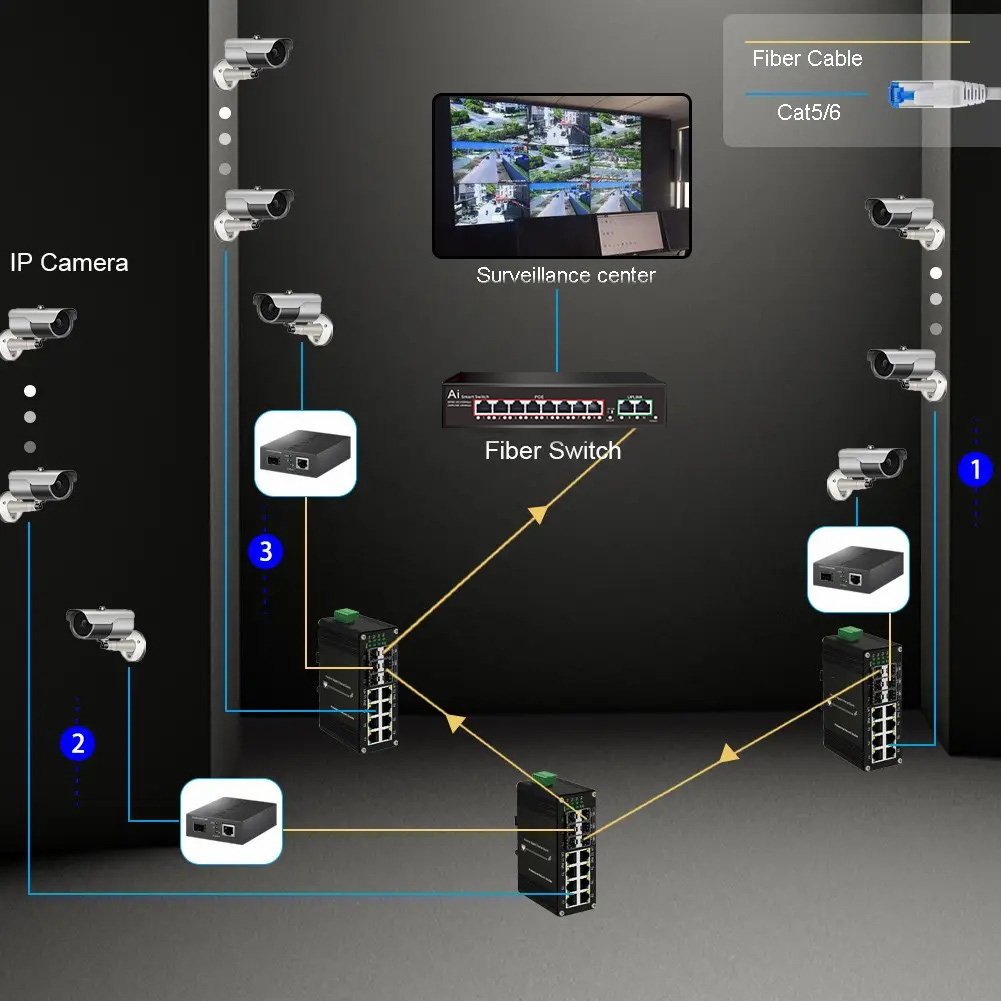
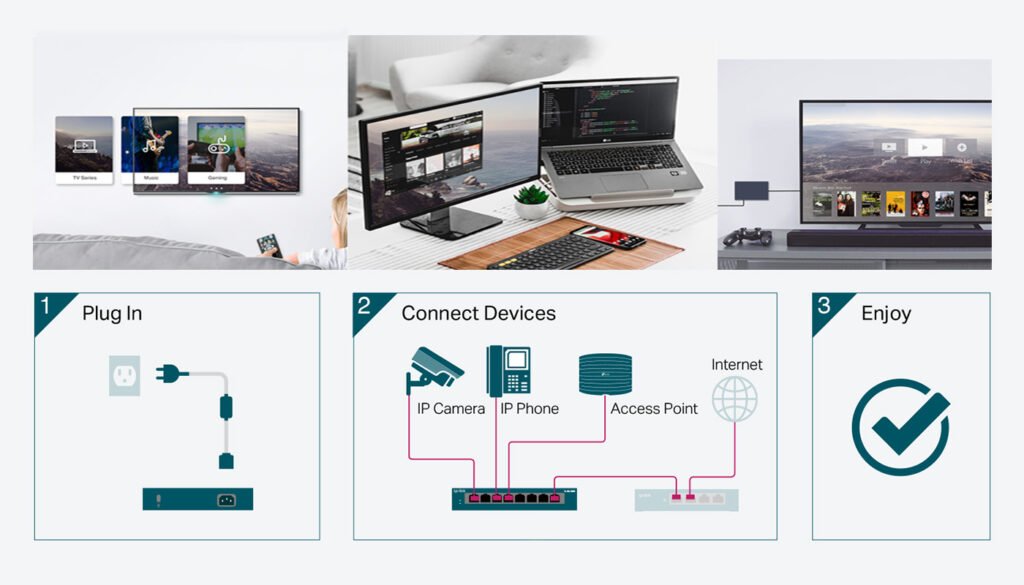
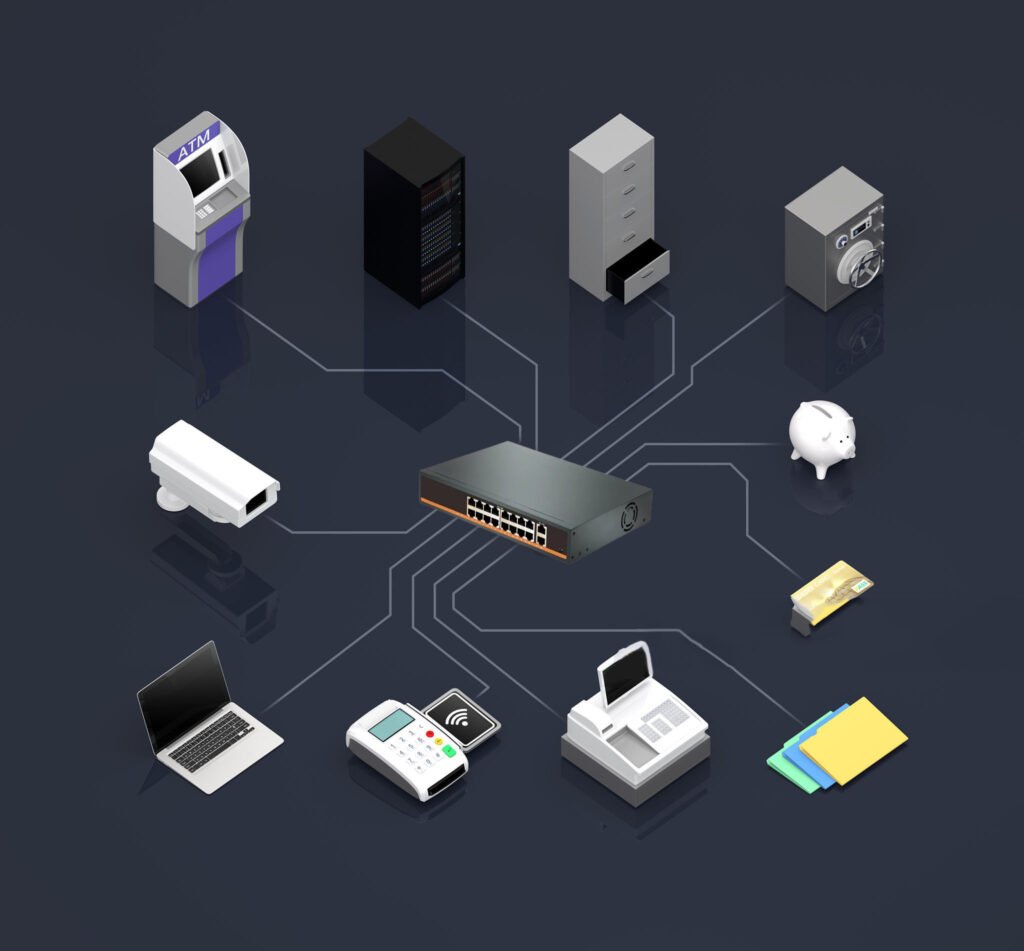
Begin by writing down every device you plan to connect to your PoE switch. This might include:
- IP cameras (indoor or outdoor)
- VoIP phones
- Wireless access points (standard 802.11ac or Wi-Fi 6)
- RFID readers or door access controllers
- Any future devices you anticipate adding soon
For each device, check the manufacturer’s datasheet for the maximum wattage. I learned the hard way that not all cameras or phones have the same power draw.
Step 2 – Identify the Maximum Power Consumption
Manufacturers typically list a “max power” or “typical power” figure. If your device states “Maximum 12W,” use that value. Even if you suspect it usually runs at 8W, consider the worst-case scenario. This ensures you have enough overhead.
Step 3 – Add Them All Up
Once you have each device’s maximum wattage, add them together. For example, if you have:
- 8 cameras at 15W each = 8 × 15W = 120W
- 4 access points at 20W each = 4 × 20W = 80W
- 4 VoIP phones at 5W each = 4 × 5W = 20W
The total is 220W.
Step 4 – Consider Cable Loss and Safety Margin
Ethernet cables can cause slight voltage drops depending on length. Although this might be small, it’s safer to plan for a margin. I usually add 10–20% to the total. So, 220W × 1.2 = 264W.
Step 5 – Match with a Suitable PoE Switch
Finally, pick a PoE switch that offers at least 264W of power budget if you follow the example above. This ensures the switch can handle all devices without hitting the upper limit. If your chosen switch only has a 250W budget, it might work most of the time but fail at peak usage.
Table: Example Calculation
| Device Type | Quantity | Wattage (Each) | Subtotal |
|---|---|---|---|
| IP Cameras | 8 | 15W | 8×15 = 120W |
| Access Points | 4 | 20W | 4×20 = 80W |
| VoIP Phones | 4 | 5W | 4×5 = 20W |
| Total | — | — | 220W |
| Safety Margin | — | 20% | ~44W |
| Grand Total | — | — | ~264W |
In this scenario, a switch with a power budget of 300W might be a good choice, giving you room to expand.
What Are the Different PoE Power Limits?
I once assumed “PoE” was universal. Then I found out there are multiple standards: IEEE 802.3af, 802.3at, and 802.3bt. Each has a different power limit. If you mismatch your switch’s power standard with the devices’ needs, you risk devices failing.
IEEE 802.3af supplies up to 15.4W at the port, ideal for low-power devices. IEEE 802.3at (PoE+) goes up to 30W, suitable for high-resolution cameras or advanced access points. IEEE 802.3bt (PoE++) can hit 60W or 90W per port, powering even bigger gear like PTZ cameras or Wi-Fi 6 APs. For deeper insight on powering higher-wattage devices, check out Understanding IEEE 802.3bt for high-power devices[^2].
Understanding Each Standard
IEEE 802.3af (PoE)
- Delivers up to 15.4W at the switch port, with about 12.95W reaching the device after cable loss.
- Commonly used for VoIP phones or basic IP cameras.
- Good for low-power devices in smaller office settings.
I recall a small client site where I used an 802.3af switch to power a few phones and cameras. It worked fine, but if they had introduced a high-power PTZ camera, that standard would not suffice.
IEEE 802.3at (PoE+)
- Up to 30W at the port, approximately 25.5W at the device.
- Perfect for advanced cameras with infrared or motorized zoom, or high-performance access points.
- Backward compatible with 802.3af.
This standard is quite popular. I see it often in mid-sized businesses or offices that want to run multiple cameras and robust Wi-Fi coverage.
IEEE 802.3bt (PoE++)
- Type 3 can supply up to 60W per port (~51W to the device).
- Type 4 can go to 90W or even 100W per port (~71W or more at the device).
- Uses all four twisted pairs in the Ethernet cable to deliver higher wattage.
When I handled a large warehouse project, we needed 802.3bt to power specialized cameras with built-in heating elements for cold storage areas. They required more than 30W each. In that environment, 802.3bt was a lifesaver.
Quick Reference Table: PoE Standards
| Standard | Max Port Power | Typical PD Power | Common Uses |
|---|---|---|---|
| 802.3af | 15.4W | ~12.95W | VoIP phones, basic IP cameras |
| 802.3at | 30W | ~25.5W | PTZ cameras, advanced WAPs, some signage |
| 802.3bt T3 | 60W | ~51W | High-power cameras, LED displays |
| 802.3bt T4 | 90W+ | ~71W+ | Pan-tilt-zoom with heaters, Wi-Fi 6 APs |
When Should You Consider High-Power PoE?
I used to think only massive enterprise networks needed the highest PoE standards. Then I encountered a mid-size office that wanted Wi-Fi 6 access points, each pulling around 20–25W during peak usage, plus some PTZ cameras at 30W. That quickly added up. High-power PoE made sense even for a smaller business environment.
High-power PoE, especially IEEE 802.3bt, is relevant if you have devices demanding more than 25.5W each. For instance, Wi-Fi 6 APs, PTZ cameras, LED lighting panels, or advanced IoT devices. Even if your network is not huge, a few high-wattage devices can justify a switch that supports 60W or 90W per port.
Scenarios Requiring Higher Wattage
Wi-Fi 6 and Wi-Fi 6E Access Points
These newer APs might have multiple antennas and advanced hardware. Their power draw can exceed what 802.3at offers. If you want maximum throughput and coverage, you might see around 25W or more per AP. I’ve seen offices with 10 or 15 APs that each require 802.3bt for full functionality, especially if they have additional modules like location analytics or integrated IoT sensors.
Table: Approximate Power Needs of Various AP Generations
| AP Type | Typical Power Range | Standard Recommended |
|---|---|---|
| 802.11n / ac | 12W–15W | 802.3af or 802.3at |
| Wi-Fi 5 (Wave2) | 16W–20W | 802.3at |
| Wi-Fi 6 / 6E | 20W–30W+ | 802.3at or 802.3bt |
PTZ Cameras
Pan-tilt-zoom cameras often have motors, heaters, infrared LEDs, and other sensors. Some advanced models need over 30W. If your business demands high-resolution or 360-degree coverage with robust night vision, you might be in 802.3bt territory.
Digital Signage and Lighting
I once encountered a retail chain that wanted to power digital signboards via PoE. Each board needed around 50W. That definitely called for 802.3bt. Also, some modern offices experiment with PoE lighting, requiring more wattage.
Future-Proofing
Even if you only have moderate-power needs now, you might plan to install a few high-end devices later. Choosing a switch with 802.3bt readiness can spare you from a costly upgrade down the road.
Common Pitfalls in PoE Budgeting
Despite careful planning, I’ve seen networks fail because of overlooked details. Maybe the total power was enough, but cable distance or surges caused unexpected issues. Or the switch’s rated budget was only for half the ports in use simultaneously. Recognizing these pitfalls can save money and headaches.
Typical pitfalls include underestimating peak power demands, ignoring cable length losses, forgetting about future device expansions, or overlooking the switch’s per-port power limit. I learned that a 300W “total power” does not always mean all ports can deliver 30W each at the same time.
Spotting and Avoiding Mistakes
Mistake #1 – Not Checking Total vs. Per-Port Budgets
A switch might advertise “370W total PoE budget,” but each port might only offer 15.4W if more than half the ports are in use. Read the specifications closely.
Example Scenario:
- You have a 24-port PoE switch with 370W total.
- If you try to use all 24 ports with 15.4W each, you need 369.6W total. This leaves almost no safety margin. Any small surge can cause trouble. If the switch is not designed to simultaneously supply the full wattage across all ports, you’ll experience device power issues.
Mistake #2 – Ignoring Startup Surges
Some devices like PTZ cameras can draw extra current at startup. If many cameras reboot after a power outage, the inrush current might exceed your switch’s capacity. A small overhead might not handle that scenario.
Mistake #3 – Overlooking Cable Runs
Long cable distances can increase resistance. If your site requires 80–90 meters from the switch to the device, watch out for voltage drops. This is typically small but can matter if your device is near the standard’s upper limits.
Mistake #4 – No Future Expansion Plan
You might only need 150W now. But if you plan to add 10 more cameras next year, that’s another potential 150W. Buying a switch with a minimal power budget forces a future upgrade. I often advise picking a switch with 20–30% more power capacity than your immediate needs.
Mistake #5 – Not Testing in Real Conditions
A lab test might differ from real-life usage. Devices that claim 10W consumption could occasionally spike higher. Also, environmental factors like extreme cold might cause a camera’s heater to run more often. Factoring these in ensures your system stays stable year-round.
Tools and Techniques to Simplify Budgeting
Calculating PoE budgets used to be a manual process for me. I scribbled wattages on paper, did some addition, added a margin, and hoped for the best. But nowadays, we have PoE calculators and network design tools that automate much of this. They also suggest best practices for distributing load across multiple switches.
PoE calculators let you enter each device’s wattage, port usage, and cable distances. The tool then shows your required power budget, potential voltage drop, and recommended switch configurations. This helps reduce guesswork and prevents painful trial-and-error scenarios.
Methods and Tools
Online PoE Calculators
Many switch manufacturers offer free PoE calculators. You enter:
- Device count
- Each device’s wattage
- Cable lengths
- Desired PoE standard
The calculator outputs recommended switch models and notes whether you’re at risk of exceeding the limit. I love these calculators for quick feasibility checks.
Spreadsheet Approach
Sometimes, I use a spreadsheet for more detail. I create columns for device name, quantity, wattage, total wattage, and location. Then I can see how many devices are assigned to each switch, ensuring no single switch is overloaded.
Simple Spreadsheet Example:
| Device Name | Qty | Power (W) | Total Power (W) | Assigned Switch | Port Count Needed |
|---|---|---|---|---|---|
| Camera Type A | 8 | 15 | 120 | Switch 1 | 8 |
| VoIP Phone | 10 | 5 | 50 | Switch 1 | 10 |
| Wi-Fi AP | 4 | 20 | 80 | Switch 2 | 4 |
| PTZ Camera | 2 | 30 | 60 | Switch 2 | 2 |
From there, I sum each switch’s total. If I find Switch 1 is near 170W, and it only supports 150W, I’ll move some devices around or pick a switch with a larger budget.
Network Design Software
Some advanced software integrates PoE budgeting with topology layouts. This is especially helpful for large or multi-site networks. It can factor in building floor plans and cable lengths. While this might be overkill for smaller offices, for enterprise or campus networks, it can save a lot of hassle.
Staged Power-On Testing
In a big deployment, I sometimes power on groups of devices in stages. For example, I’ll bring up half the cameras first, watch the power draw, then the other half. This helps me confirm the real-world usage matches the predicted numbers.
Conclusion
A properly planned PoE power budget can mean the difference between a smooth-running network and a series of frustrating device failures. By adding up device wattages, factoring in cable losses, and choosing the right PoE standard, you’ll avoid the chaos of underpowered devices. You’ll also save yourself from scrambling to replace gear when you discover your switch doesn’t have enough capacity. I’ve seen how critical this planning is in real installations, from small offices to large warehouses. Whether you’re powering a few VoIP phones or an entire fleet of PTZ cameras, taking time to calculate your PoE budget is always worth the effort.
Calculating a PoE power budget involves five major steps: identifying all the powered devices, finding each device’s maximum wattage, summing these values, adding a margin for cable loss and spikes, and then choosing a PoE switch that offers a sufficient total budget. Different IEEE standards (802.3af, 802.3at, 802.3bt) define how much power is available at each port. Low-power devices like basic IP cameras or VoIP phones might only need 802.3af’s 15.4W limit, whereas more demanding devices (Wi-Fi 6 access points, PTZ cameras) can require 30W or even 60–90W per port. Always compare your total demand with the switch’s stated power budget and confirm that you can simultaneously supply enough wattage on all in-use ports. Remember that real-life usage includes surges, cable length, and environmental factors like temperature. Tools such as PoE calculators or spreadsheets can simplify the planning process. By dedicating time to this calculation, you can future-proof your network, minimize downtime, and ensure a reliable PoE deployment that supports your business needs now and in the future.
[1]:This reference helps readers find a free PoE budget calculator tool, where they can input device wattage to see recommended switch models or total budget needed.
[2]:This link clarifies the newer PoE++ standard for devices that require more than 30W, such as Wi-Fi 6 APs or PTZ cameras, ensuring users pick the correct switch type.